
")


4 Tips to Keep Student Reading Notebooks Organized
If you’ve used student notebooks in your middle school classroom before, you know just how chaotic they can get. Students write things in random places. Papers are constantly falling out or getting glued in all over the place. It’s a mess. To combat this, I created a system for grammar and reading notebooks that keeps things organized, so students can always find what they need.
I want to share four grammar and reading notebook tips that will take your student books from chaotic to useful. (PS. You can use these tips whether you use interactive notebooks or another notebook method.)
#1 Use Separate Grammar and Reading Notebooks
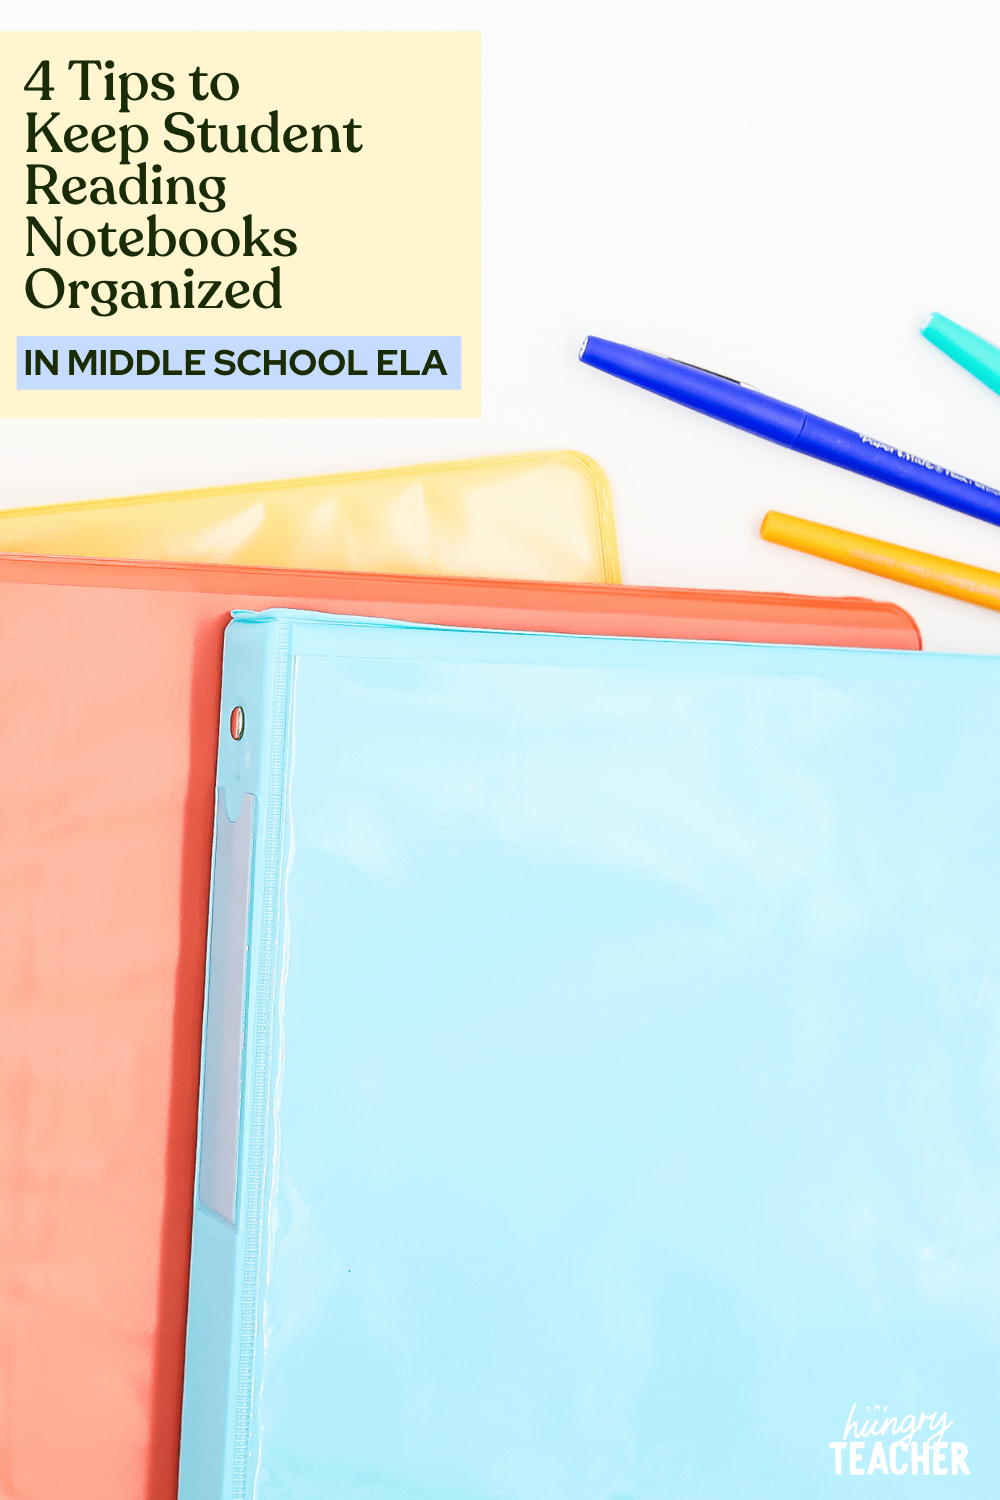
When I first started using student notebooks, I had students cram everything into one notebook. That was a one-way ticket to chaos, so I don’t recommend that. Instead, I had students create a reading notebook and a grammar notebook.
The reading notebook was thicker because I used a lot of interactive notebook elements with my students, but you can decide on a notebook type that works best for your students. I also preferred composition notebooks over spiral because the coils became a tangled and mangled mess halfway through the year. (Also, middle schoolers will turn those metal coils into spiky poking sticks.)
The grammar notebook was a thinner version, and this is where students kept up with mentor sentences, writing units, and general grammar rules they had learned.
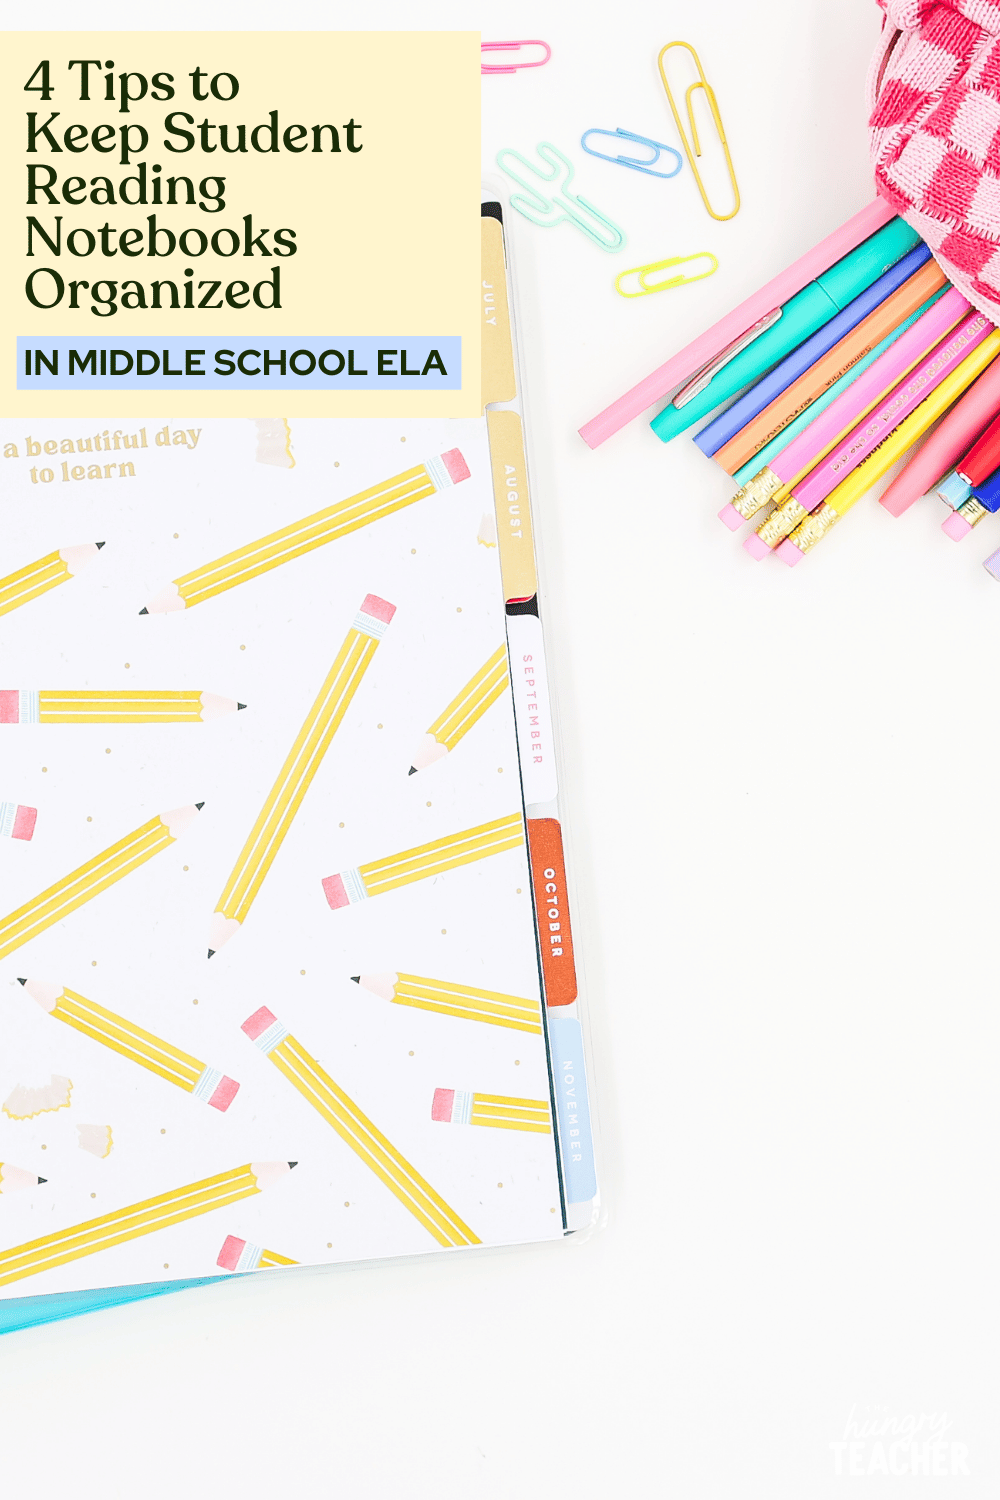
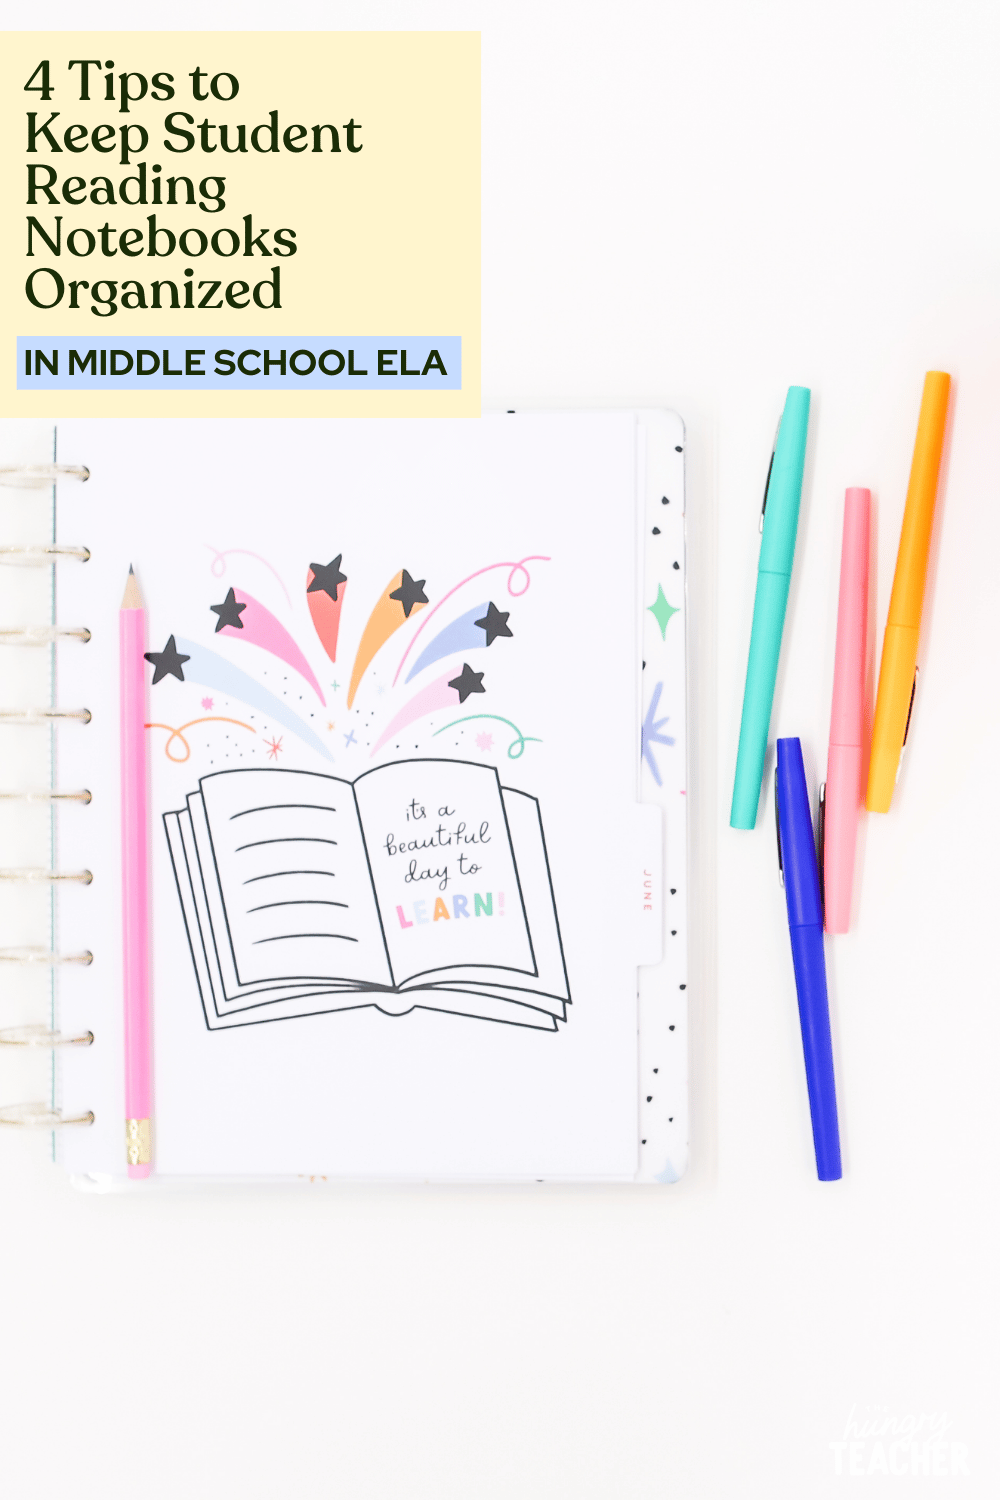
#2 Use Tabs for Each Unit
My best tip for organizing grammar and reading notebooks is to use tabs. These are a game changer. Not only does it make it easier for students to find information (because isn’t that the whole point of the notebook?), but it tells students exactly where to write or glue.
Students would get a new tab at the beginning of a unit. They glue it onto the next available page and then all the information for that unit goes after the tab. The only exception would be for mentor sentences. I have students place a mentor sentence tab at the start of the notebook and count 32 pages back (for each week at school). The first unit starts after those 32 pages.
Give student notebook tabs a try with the Editable Notebook Tabs resource! It includes 15 subject tabs, 45 unit tabs, and an editable file for you to create your own. Simply print what you need, and students will glue them in.
#3 Model Organization
It might seem ridiculous to model where to place a tab or glue something into a interactive reading notebook, but I highly recommend it (at least in the beginning). Students aren’t born with the innate ability to organize – we have to teach it to them.
I also had my own teacher version of the grammar and reading notebook. I would either hold the notebook up and show students where to place a page or tab, or use a document camera to project my notebook on the screen and students would follow along.
If students put things in the wrong place (it happens!), I would have them tear out the page and glue it in the correct location. It’s a simple fix!
#4 Implement Quick Checks
If you want to add some accountability, you can implement quick checks for student notebooks. I didn’t do this often, and when I did, it wasn’t a grade. However, it was my way of letting students know that keeping their reading notebooks organized was a priority and if they were struggling, we’d need to sort it out.
These quick checks will also help you check when student notebooks are getting chaotic before it’s beyond fixing.
Looking for more ways to organize your grammar and reading notebooks? Check out my interactive notebook resources. Interactive reading and grammar notebooks help students organize and process information – and make it easier for students to reference down the road when they need a refresher.


Want a sneak peek at teaching The Hungry Teacher way—with support, structure, and strategy?
When you join the waitlist for The Hungry Teacher’s Hub membership, you get three free classroom-ready resources: a theme unit, an expository writing unit, and a grammar unit introducing mentor sentences. Plus, you’ll get immediate access to a selection of exclusives from the Hub, including editable sub plans, pacing guides, and more.
No strings attached. Just resources you can use right now—and a heads-up when the Hub opens.
3 Free Middle School ELA Units—yours to keep!
JOIN THE WAITLIST + A FREE GIFT


")


